Albert Wesker is a villain you love to hate, or maybe you just love the shades. But for firearm enthusiasts and Resident Evil die-hards, his taste in hardware is what actually sticks. Specifically, we're talking about the Beretta 92 Samurai Edge Wesker build. It isn't just a prop; it’s a functional, high-performance evolution of the classic Beretta 92FS that bridges the gap between Capcom’s digital pixels and real-world ballistics.
Most people think you can just slap some wooden grips on a standard M9 and call it a day. Honestly? That's barely scratching the surface. If you want a true-to-lore Wesker Model, you’re looking at a specific marriage of aesthetics and mechanical upgrades that make the pistol flatter-shooting and more aggressive than the standard S.T.A.R.S. issue.
What Actually Makes it a Wesker Build?
The Samurai Edge, according to Resident Evil lore, was a custom job by Joe Kendo. While Jill, Chris, and Barry had their specific versions, Wesker’s was the "Performance Model." In the real world, recreating this means starting with a solid Beretta 92 platform. You aren't just looking for "neat" parts; you're looking for the frame-mounted rail and the specific Brigadier slide.
The Brigadier slide is the heart of the beast. It’s heavier. It’s beefier. It was originally designed to handle high-pressure loads and reduce felt recoil. On a Beretta 92 Samurai Edge Wesker build, that extra mass at the top isn't just for looks—it changes the entire cycling impulse of the gun.
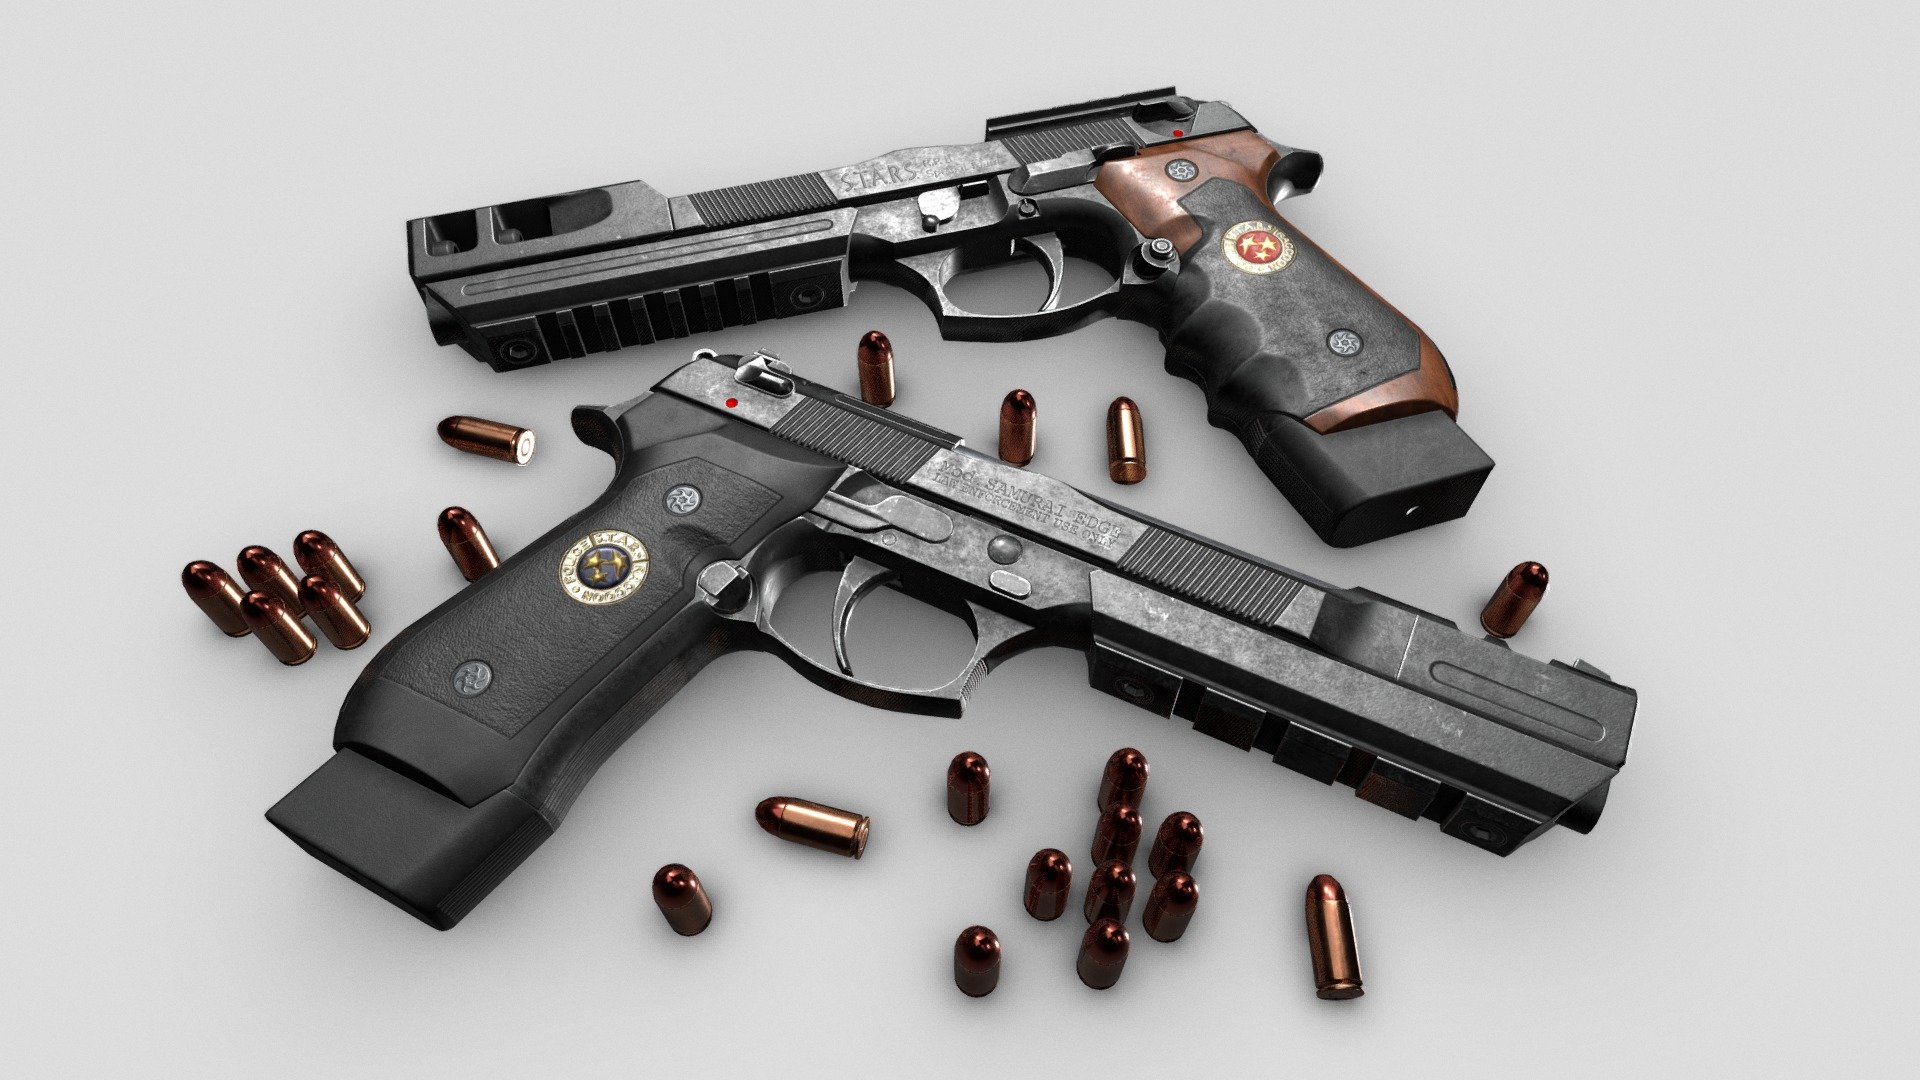
You’ve got to account for the finish, too. While the other S.T.A.R.S. members had standard blued or Inox finishes, Wesker’s later iterations—especially the one seen in Resident Evil 5—featured a striking contrast. We’re talking about an Inox (stainless) barrel paired with a black slide and frame. It’s sleek. It's cold. It fits the character perfectly.
The Frame Foundation
Don't use a standard 92FS frame if you want 100% accuracy. Wesker’s personal unit utilized a railed frame. In the current market, the Beretta 92A1 or the M9A3/A4 frames are your best bets, though the 92A1 has the more traditional rounded trigger guard that looks "correct" for the era.
Some builders swear by the Beretta 92X. It’s a great gun, sure, but the Vertec-style straight backstrap changes the ergonomics. Wesker's grip was the classic humped backstrap. If you go Vertec, you’re basically building a modern interpretation, not a replica. If that's what you want, cool, but purists will notice.
Sourcing the "Unobtainable" Parts
The biggest hurdle is the grips. You can't just go to a local gun store and ask for "the Resident Evil ones." You’re looking for DS Grips or collector-grade medallions. The medallions are the centerpiece—the S.T.A.R.S. Raccoon Police Department logo embedded in wood with a semi-circle of checkering.
Usually, these are walnut. Dark walnut looks best against the black frame.
Then there's the slide engraving. This is where things get expensive. A true Beretta 92 Samurai Edge Wesker build needs the "Mod. Samurai Edge" and "Law Enforcement Use Only" roll marks. You’ll likely need to find a specialized laser engraver who handles firearm frames. It’s a legal gray area for some shops, so ensure they have the proper FFL if you're shipping the serialized frame, though just doing the slide is usually easier.
Internal Upgrades for "Performance"
Wesker wouldn't settle for a 12-pound double-action trigger pull. Neither should you.
- The D-Spring: This is the easiest, cheapest, and most impactful mod. It’s a factory Beretta part from the 92D (double-action only) model. It drops the trigger weight significantly without sacrificing reliability.
- The Skeletonized Hammer: It looks faster. It probably is faster. It’s definitely part of the Wesker aesthetic.
- Steel Guide Rod: Swap that plastic factory rod for a fluted steel one. It adds a bit of weight to the front, helping with muzzle flip.
The Brigadier Slide Dilemma
Finding a standalone Brigadier slide is like hunting for a herb in a room full of Hunters. They are rarely sold separately. Often, you have to buy a Beretta 92 Brigadier just to harvest the slide, then sell the leftover frame. It’s a logistical nightmare, but that’s the price of accuracy.
The Brigadier slide is wider at the locking block area. This means standard Beretta 92 holsters often won't fit. If you're planning to actually carry this (though why you’d subject a custom masterpiece to holster wear is beyond me), you’ll need leather or Kydex specifically molded for the Brigadier profile.
Why the Rail Matters
Wesker’s RE5 version featured a LAM (Laser Aiming Module) or at least the capability for one. The rail on the 92A1 or M9A1 is vital for that "tactical" look. Without it, the gun looks like Jill’s—which is fine, but it isn't the Wesker build.
You want that intimidating, front-heavy profile. It says, "I'm planning on betraying my entire team and faking my death in a lab."
Performance on the Range
Is it just a shelf queen? No.
A properly built Beretta 92 Samurai Edge Wesker build is a dream to shoot. The Beretta 92 is already known for its reliability—the "open slide" design virtually eliminates stovepipes because there’s nothing for the brass to hit on its way out.
When you add the Brigadier slide and a D-spring, you get a pistol that tracks incredibly well. The reset is short (especially if you install the Beretta Xtreme-S trigger group), and the weight soaks up 9mm recoil until it feels like a .22. You can put tight groups on paper at 25 yards all day long.
One thing to watch for: the grips are thick. If you have small hands, the combination of the Beretta's naturally wide grip and the custom wood panels can feel like holding a 2x4. But hey, Wesker was a big guy.
Common Mistakes to Avoid
I see people mess this up constantly. They get an Inox (all silver) Beretta and put the grips on it. That’s not it. Wesker’s gun was never all silver.
Another big one? The sights. The Samurai Edge uses a specific three-dot configuration, usually with a slightly taller front sight to accommodate the Brigadier slide's height. Don't just stick with the factory sights if you've gone through the trouble of engraving the slide. Trijicon or Ameriglo sights provide that modern "operator" feel while staying true to the high-visibility requirements of a custom combat handgun.
Also, the barrel length. Keep it standard. Don't go putting a threaded barrel on there unless you're doing a very specific "suppressed" variant from the later games. The classic profile demands that flush-fit or slightly protruding crowned barrel.
Final Assembly and Coatings
Cerakote is your friend here. If you're mixing and matching parts from a 92FS, an M9A1, and a donor Brigadier, the finishes won't match. A Graphite Black or Sniper Grey Cerakote on the slide can give it that matte, professional look that hides the transition between different metal types.
For the barrel, a "Satin Mag" or "Crushed Silver" Cerakote can mimic the Inox look if you can't find an actual stainless barrel. It’s durable and self-lubricating, which actually improves the action’s smoothness.
Costs and Reality Checks
Let's talk money. This isn't a budget project.
- Base Pistol: $600 - $800
- Donor Brigadier Slide: $300 - $500
- Custom Grips: $150 - $250
- Laser Engraving: $100 - $200
- Internal Parts: $100
- Professional Refinishing: $250+
You're looking at a $1,500 to $2,000 project. Is it worth it? If you're the kind of person who spent their childhood dodging Tyrants in the Spencer Mansion, absolutely. It's a functional piece of art.
Taking Action on Your Build
If you’re ready to start your own Beretta 92 Samurai Edge Wesker build, don't buy everything at once. Start with the frame. Secure a Beretta 92A1 or a 92 Brigadier. Everything else can be sourced piece-by-piece.
- Step 1: Audit your local listings or sites like GunBroker for a 92 Brigadier. It’s the hardest part to find.
- Step 2: Reach out to DS Grips or check specialized forums for the RPD medallions. These often have long lead times.
- Step 3: Consult with a gunsmith who knows the Beretta platform. The timing of the locking block and the fitment of a donor slide need to be checked for safety.
Once the mechanical work is done, focus on the aesthetics. The engraving should be the last step before the final coating. This ensures the raw metal from the engraving is protected by the Cerakote or bluing. It’s a slow process, but rushing a Samurai Edge is how you end up with a "S.T.A.R.S." pistol that looks like a cheap toy. Take your time, get the heavy slide, and make sure that medallion is centered.